First start byteDEVKIT STM32MP1
This guide helps with the first start of the byteDEVKIT STM32MP1:
Connecting the Hardware and first Booting
- Prepare the USB serial cable for connection
- Locate the black cable of the serial connector.

Caution
Connect the serial cable to the byteDEVKIT STM32MP1 as shown. The black cable must point towards the USB OTG connector.
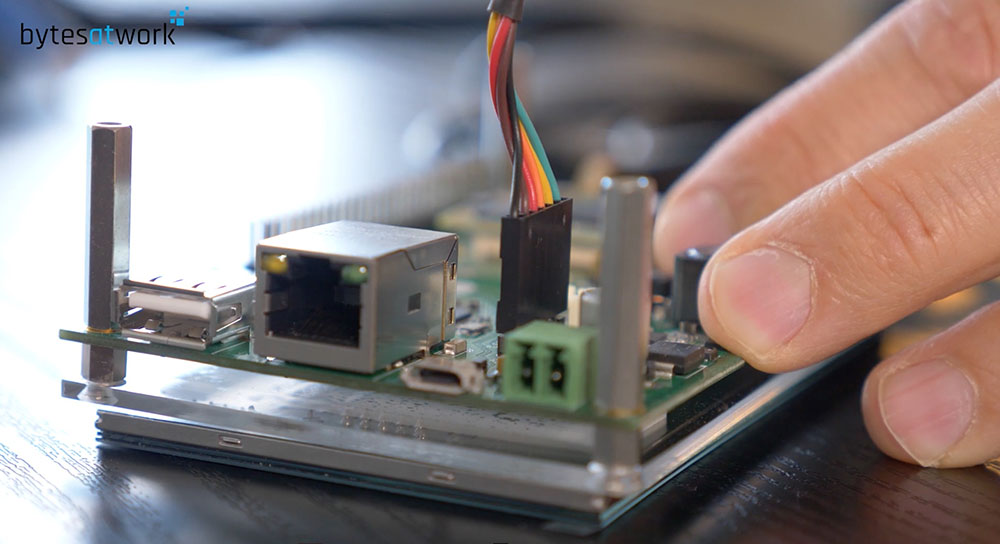
- Connect the USB connector with USB port of your computer or laptop.
- Connect the ethernet RJ45 with the byteDEVKIT STM32MP1.

- Plug in the power socket.
- Connect the power supply cable to the power slot of the byteDEVKIT STM32MP1.
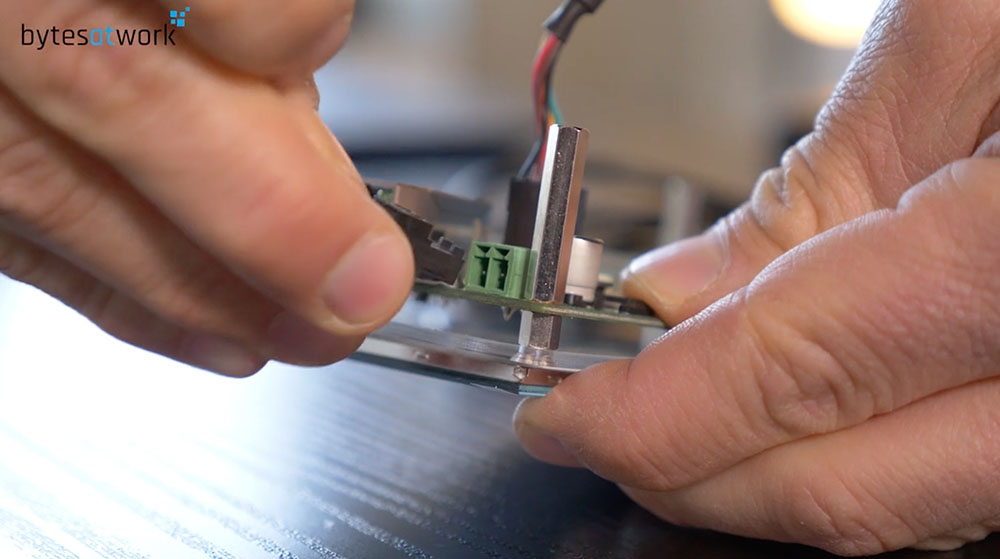
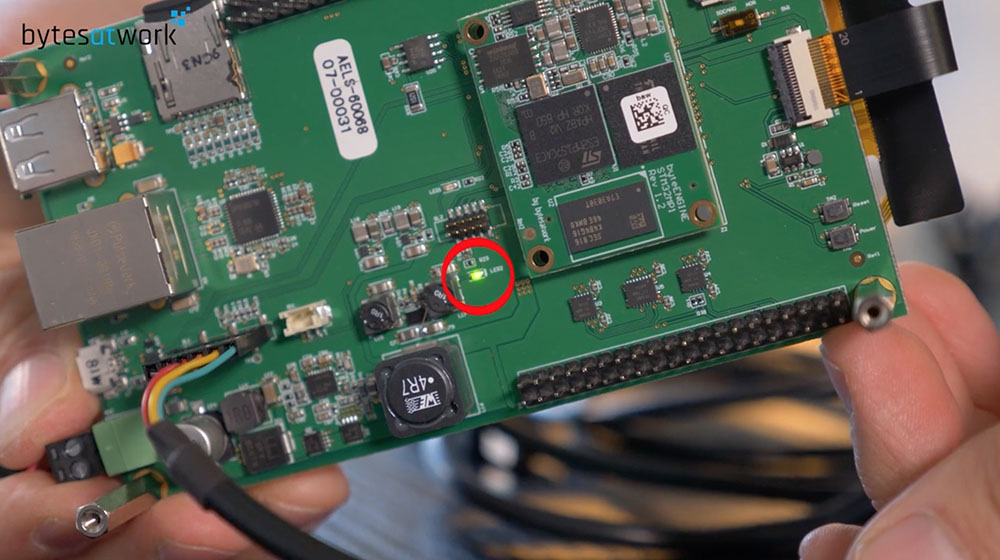
- A green LED on the backside of the byteDEVKIT STM32MP1 indicates the status of the power supply.
Attention
Your byteDEVKIT STM32MP1 is powered up, when the green LED lights up. If the LED doesn´t light up, check the connection of the power socket.
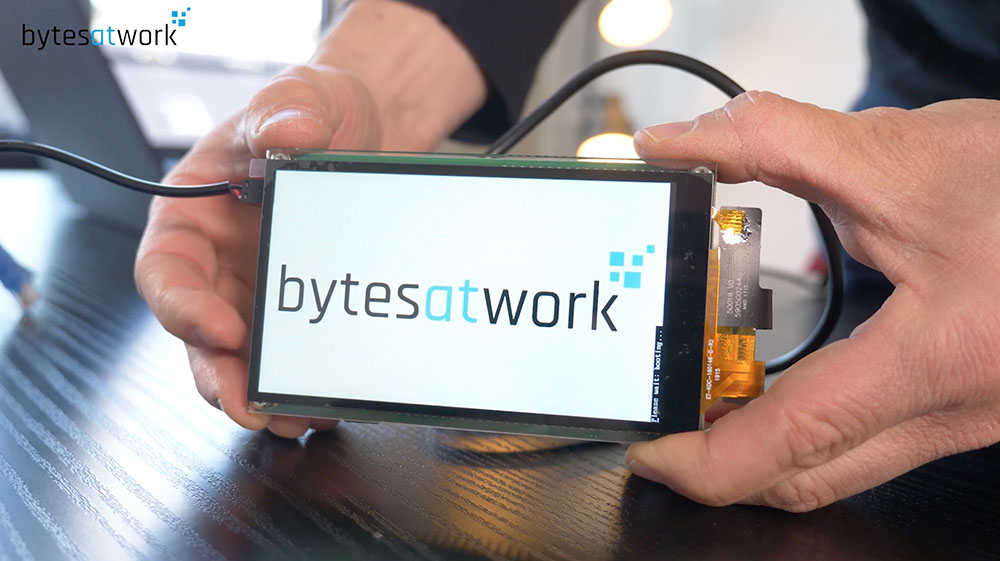
- The 5-inch touchscreen display shows the bytes at work-logo when booting.
Hint
The booting procedure will take a few seconds.
- Now you can access the byteDEVKIT STM32MP1 with your laptop.
Hint
For further information refer to: “Bring-up_byteDEVKIT_STM32MP1”.
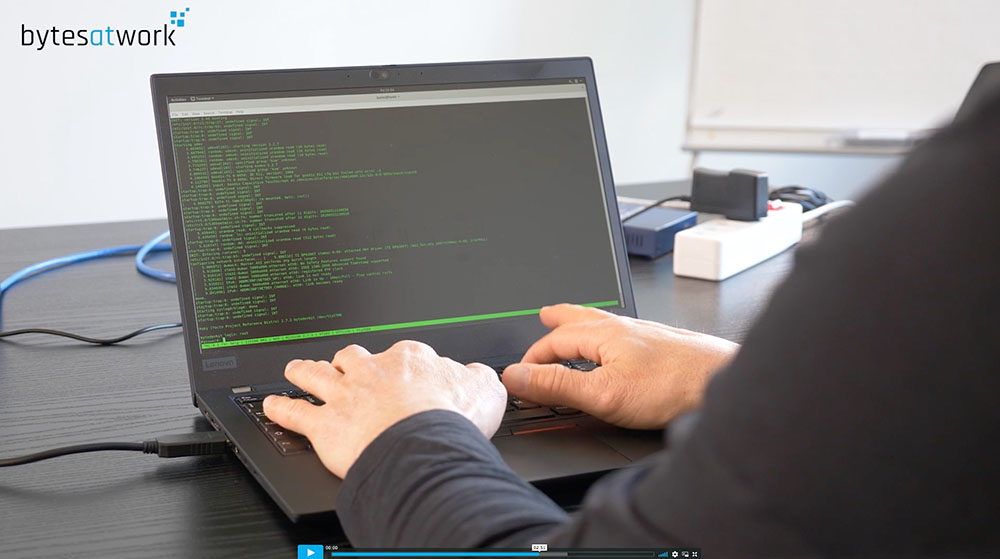
Bring-up byteDEVKIT STM32MP1
How do I connect to byteDEVKIT using the serial console?
- Use the serial port to connect the byteDEVKIT STM32MP1:
- Connect the debug cable with the byteDEVKIT STM32MP1 and your computer/laptop
- Start a serial communication program on your computer/laptop (‹putty›, ‹minicom› or something else)
- Set to 115200, 8N1, no flow control
- login with: user: “root” and password: “rootme”
LINUX
- Start PuTTY
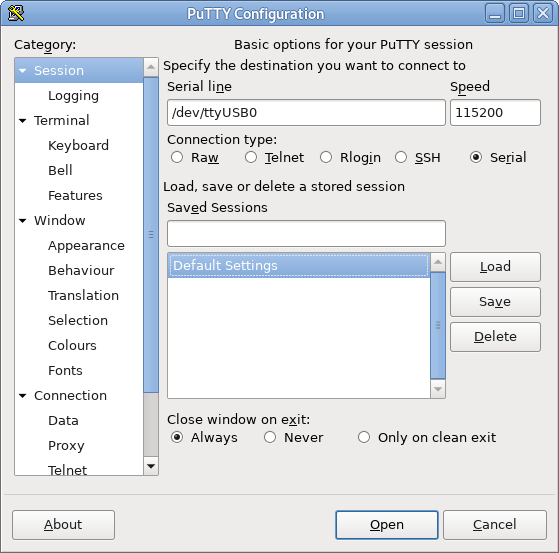
- Click “Serial”
- Change “Serial line” to “/dev/ttyUSB0”
- Change “Speed” to 115200
- Navigate to “Serial” in the menu “Connection”
Hint
make sure you have Data bits set to 8, Stop bits set to 1, Parity to None, Flow control to None
- Click “Open”
- Power up the byteDEVKIT STM32MP1
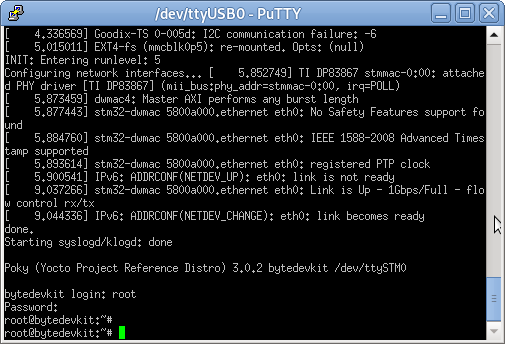
- Once the login prompt appears, login with user “root” and password “rootme”

Note
You are now succesfully connected to the byteDEVKIT STM32MP1
WINDOWS
- Connect the USB serial adapter to the computer
- Windows installs the driver automatically (if the windows doesn´t install the driver reconnect the serial adapter cable)
- Open device manager and navigate to “Ports (COM & LPT)”
- The serial adapter shows up in the device tree: “Prolific USB-to-Serial Comm Port (COM7)”
- “COM7” is your serial port
- Install a serial terminal application, e.g. PuTTY (version 0.59 and newer) https://www.chiark.greenend.org.uk/~sgtatham/putty/latest.html
- Start PuTTY
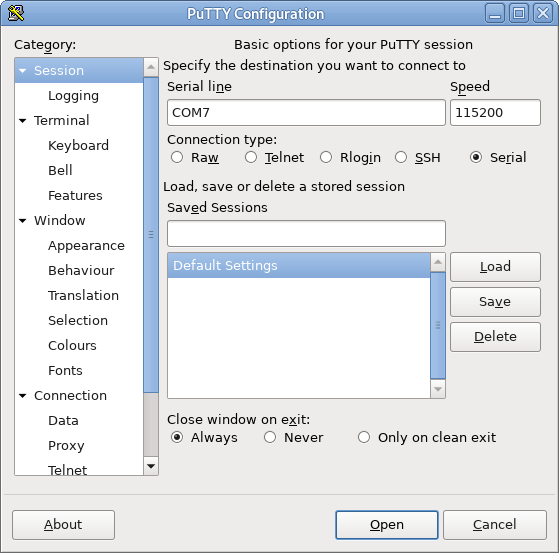
- Click “Serial”
- Change “Serial line” to serial port you found in device manager
- Change “Speed” to 115200
- Navigate to “Serial” in the menu “Connection”
Hint
make sure you have Data bits set to 8, Stop bits set to 1, Parity to None, Flow control to None
- Click “Open”
Power up the byteDEVKIT STM32MP1
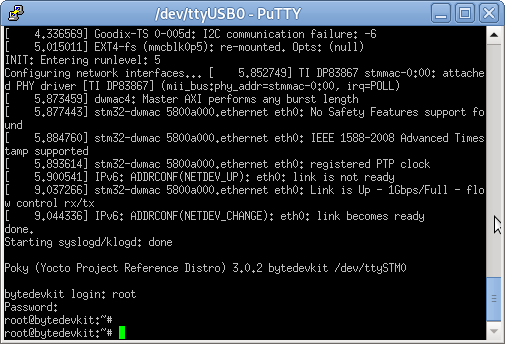
Once the login prompt appears, login with user “root” and password “rootme”
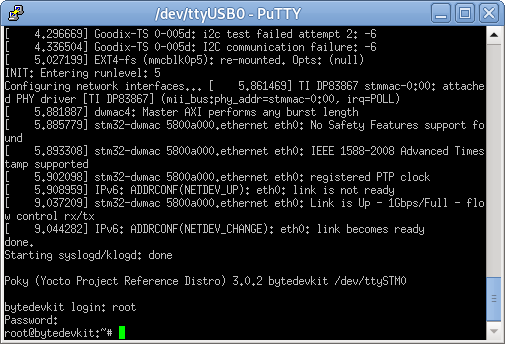
Note
You are now succesfully connected to the byteDEVKIT STM32MP1
How to install additional software using apt
Hint
Follow the link for additional information about “apt”: https://help.ubuntu.com/community/AptGet/Howto
- Connect the embedded device’s ethernet to your LAN
- Run: apt-get update
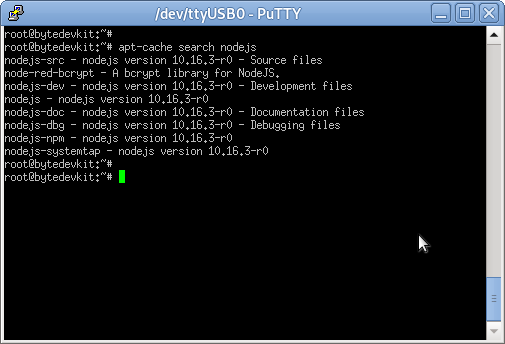
- Run: apt-cache search <software component> to search for available packages e.g.: apt-cache search nodejs
- Run: apt-get install <software component> to install additional software e.g.: apt-get install nodejs

