Unboxing byteDEVKIT STM32MP1
This guide delivers new users a brief overview of the package content and the functions of our byteDEVKIT STM32MP1. When unboxing you should find the following components:
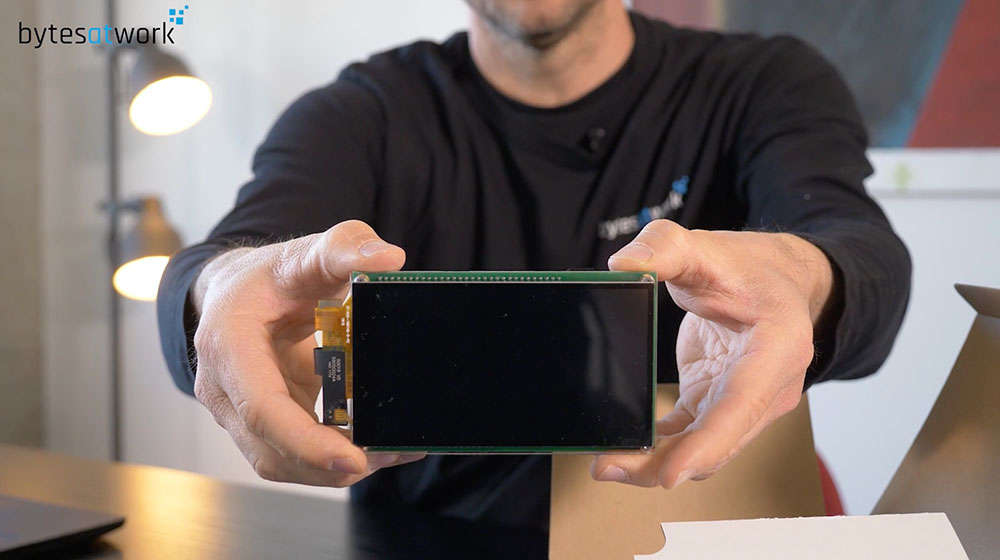
- The byteDEVKIT STM32MP1 with a 5-inch touchscreen display
- The SOM STM32MP1x
Note
The SOM STM32MP1x is already connected with the byteDEVKIT STM32MP1.

- The power supply for the byteDEVKIT STM32MP1

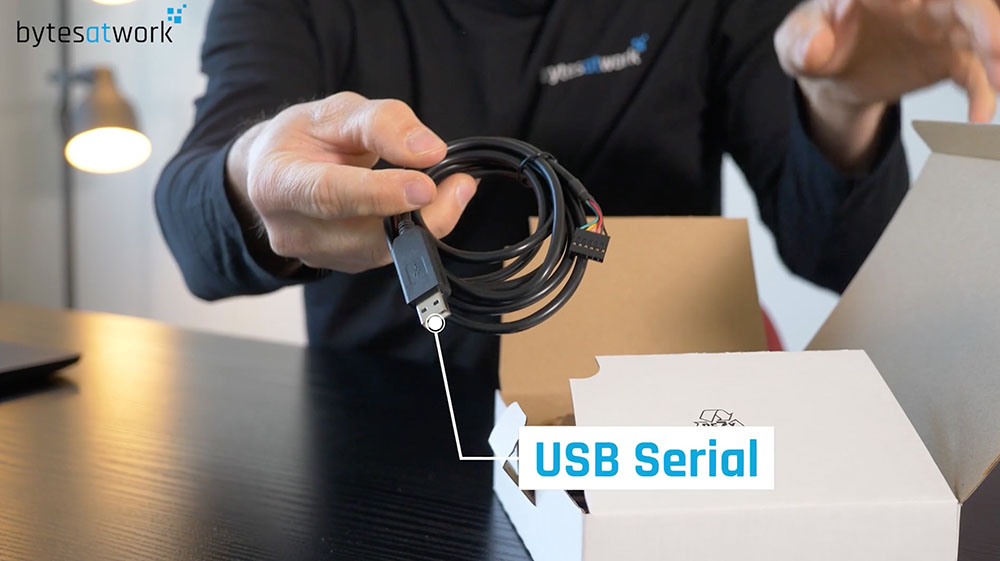
- The USB serial cable for the byteDEVKIT STM32MP1
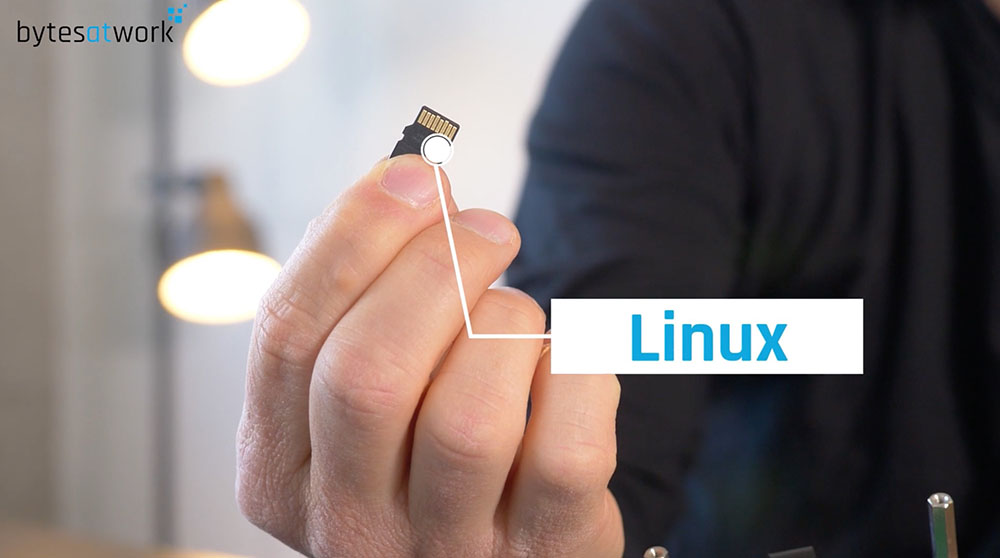
- micro-SD card with preinstalled Linux
Technical overview byteDEVKIT STM32MP1
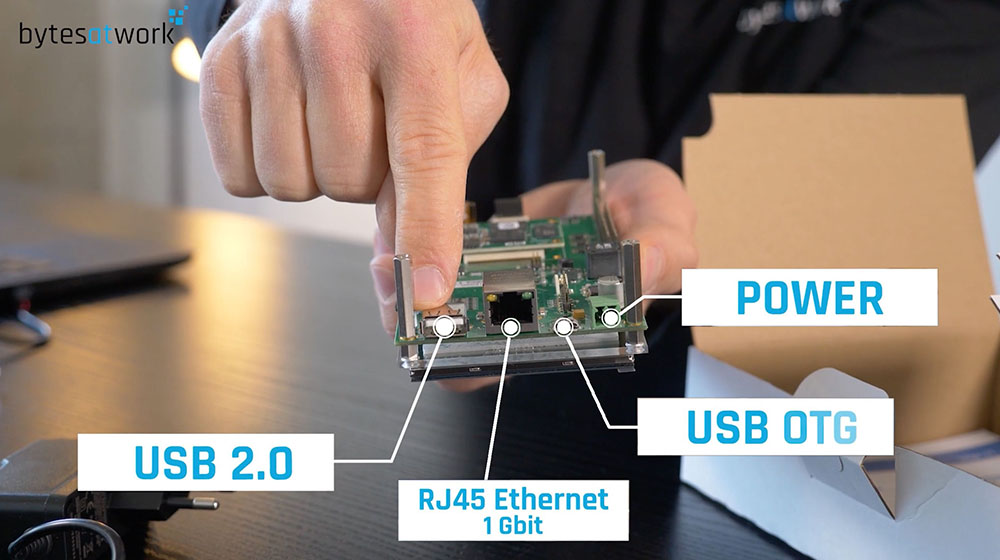
- The byteDEVKIT STM32MP1 offers the following connectors on the front side:
- USB 2.0
- RJ45 Ethernet 1 Gbit
- USB OTG
- Power connector
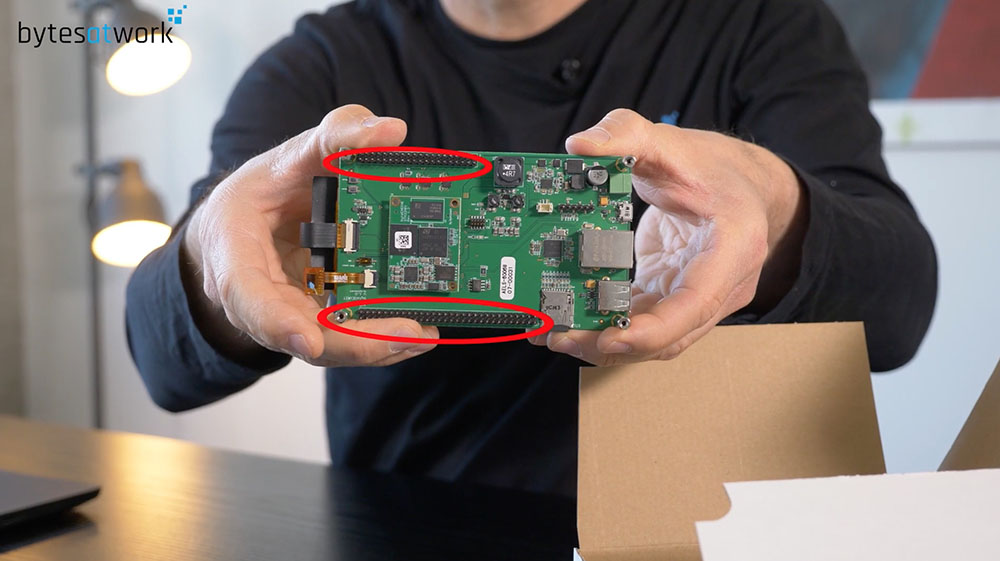
- You find the extension on the backside. The byteDEVKIT STM32MP1 offers:
- 40 pin header compatible for the rasperry pi
- 60 pin header with all the needed signals: I2C, SPI, CAN, UART, I2S, LDC, GPIO and PWM
- The micro-SD card slot contains a micro-SD card with preinstalled Linux OS:
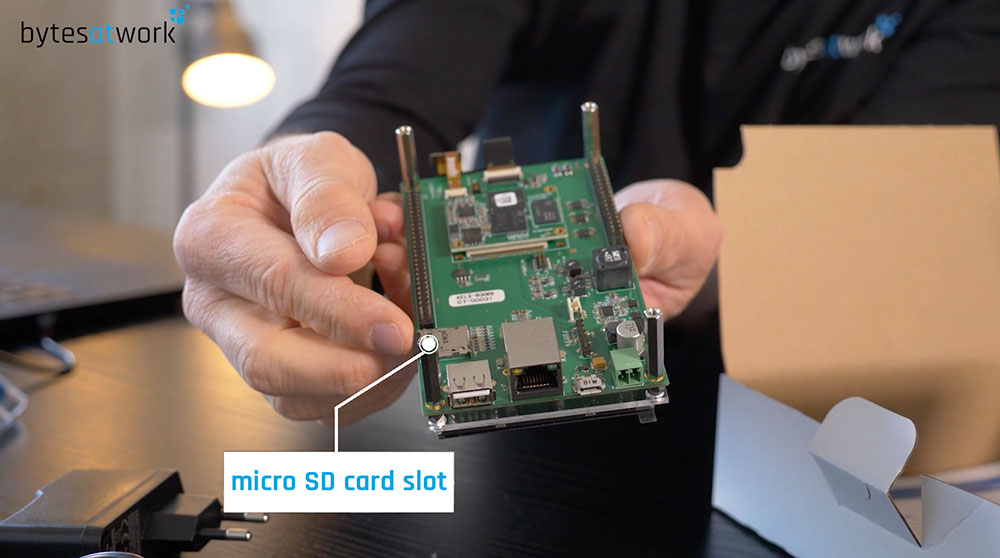
Note
The micro-SD card is already slotted to the byteDEVKIT STM32MP1.
